Update: Sitescout no longer support third party ad tag and therefore, newly sign up user will need to apply to use third-party ad tag. Learn how to apply here.
Once you’ve received the approval notice from Sitescout you may start using our Ad Tag following the steps below.
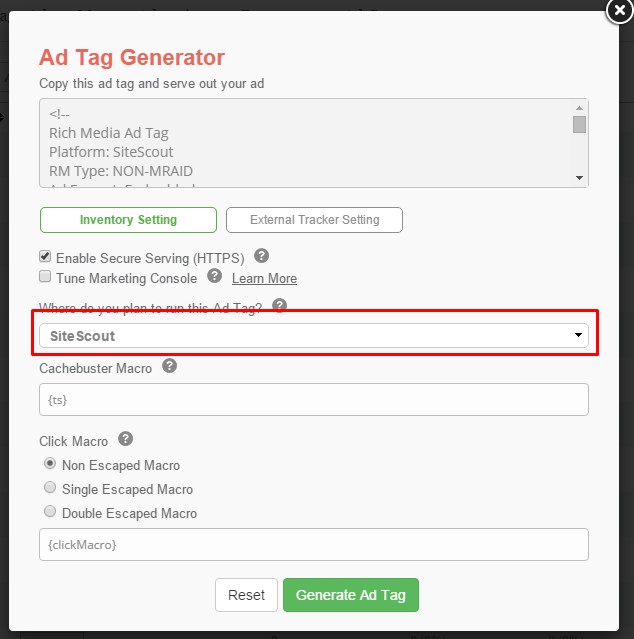
Step 1: Login to your account in MobileAds and generate your Sitescout compatible Ad Tag (Refer to image below). Learn how to generate Ad Tag here.
Step 2: Next, login to your account in Sitescout.

Step 3: From the dashboard, click on the New button to create a new campaign. Create campaign that suits the ad tag that you’ve generated as follow:-
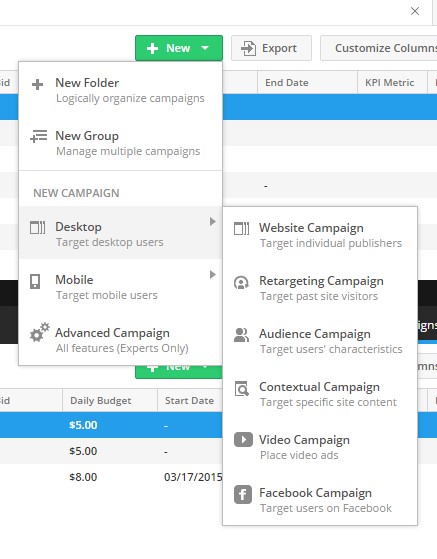
Step 3.1: Desktop
Website Campaign: Select this when creating a campaign for your Desktop Ad Tag.
Video Campaign: Select this when creating a campaign for your Desktop VAST Tag.
Retargeting/Audience/Contextual Campaign: You can use the same Desktop Ad Tag to create these types of campaign if needed. You can learn more from Sitescout’s knowledge Center.
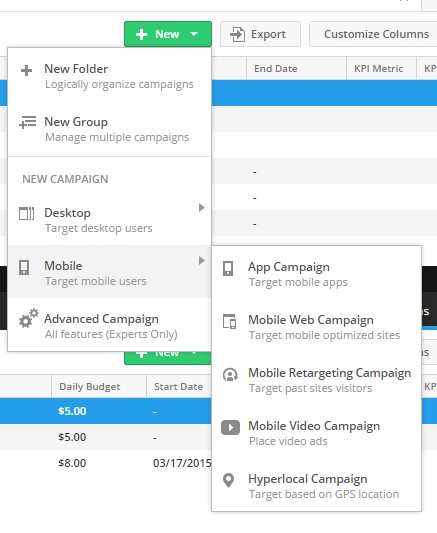
Step 3.2: Mobile
App Campaign: Select this type when creating campaign for your In-App Ad Tag.
Mobile Web Campaign: Select this when creating a campaign for your Mobile Web Ad Tag.
Mobile Video Campaign: Select this when creating a campaign for your Mobile VAST Tag.
Mobile Retargeting/Hyperlocal Campaign: You can use the same Mobile Web Ad Tag to create these types of campaign if needed. You can learn more from Sitescout’s knowledge Center.
Step 4: After selecting the appropriate campaign type, proceed to fill in the necessary details for your campaign. Learn more on how to create campaign here.
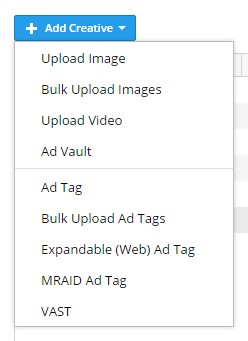
Step 5: When it comes to adding creative for your campaign, click on the Add Creative button and select the appropriate creative type as follow:-
Ad Tag: Select this for your Desktop/Mobile Web Ad that is non-expandable (i.e 300×250 Ad Size).
Expandable Web Ad Tag: Select this for Desktop/Mobile Web Ad that is expandable (i.e 320×50 expands to 320×480).
MRAID Ad Tag: Select this for your In-App Ad whether it is non-expandable or expandable.
VAST: Select this for your VAST Ad.
Step 5.1: After selecting the creative type, next is to enter details for the creative. Select the dimension of the ad (for 320×50 expands to 320×480 expandable ad, select 320×50 as the dimension).
Step 5.2: If you are creating an expandable ad, select ‘Any Diagonal’ as the expanding direction.
Step 5.3: Paste our Sitescout compatible Ad Tag into the Tag Code box.
Step 5.4: Select Ad Tag is Secure checkbox so inform Sitescout that your Ad Tag is secure and can be used to target a wider range of inventories.
Step 5.5: Finally, click on the Create Ad button to create your creative. Refer below image for a sample screenshot.

Step 6: Once you click Launch Campaign button in the last step of the campaign creation process, the campaign will be submitted for review and approval which might take around 24 hours or more. So it is best to allow a few days for the approval process.
If you encounter any issue while using our Ad Tag in Sitescout, please contact your account manager or send us a message at [email protected].